
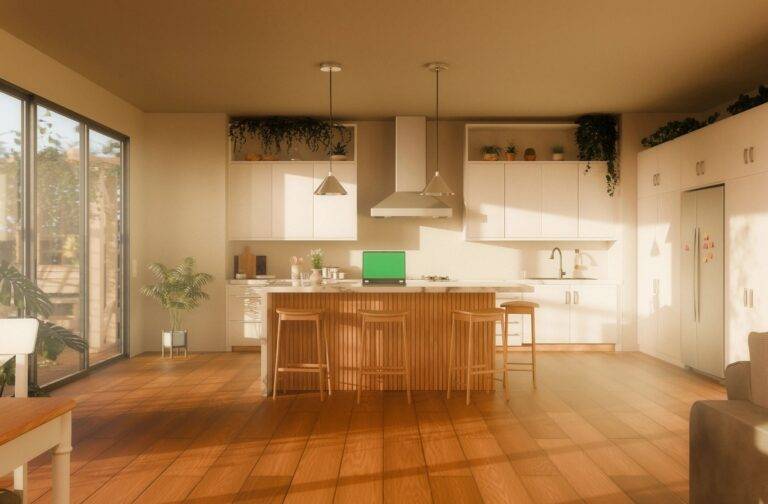
Installing rigid core luxury vinyl plank (LVP) flooring is one of the most effective ways to upgrade a home on Oahu. Whether you are renovating a single-family residence in Kailua, a townhome in Kapolei, or a high-rise condo in Kakaʻako, vinyl plank delivers a 100% waterproof, pet-friendly surface built for Hawaii’s tropical environment.
However, the secret to a flawless, long-lasting floor installation does not lie in the planks themselves—it lies underneath them. On Oahu, most residential ground floors and condo units consist of poured concrete slabs. Over time, ground settling, moisture migration, and rough original pours leave concrete slabs with dips, humps, hairline cracks, and high spots.
Laying click-lock LVP directly over an unlevel concrete subfloor can lead to bouncing planks, hollow sounds underfoot, cracked locking joints, and telegraphing imperfections over time.
Sourcing high-density stone-polymer composite (SPC) LVP flooring, paired with modular kitchen cabinets and pre-polished quartz countertops directly from our Aiea warehouse, gives your home a solid foundation. Following proper subfloor preparation protocols ensures your continuous flooring looks and performs like a professional installation for decades.
The Oahu Concrete Reality: Common Subfloor Imperfections
Before laying down a single plank of LVP, evaluate the condition of your concrete slab against key industry installation tolerances:
| Concrete Subfloor Issue | Primary Cause on Oahu | Long-Term Risk to Click-Lock LVP | Recommended Corrective Action |
|---|---|---|---|
| Dips & Low Spots | Poor original concrete troweling or slab settling | Planks flex downward, causing hollow sounds and broken click joints | Fill with self-leveling underlayment or high-strength patch compound |
| Humps & High Spots | Slab heaving or uneven expansion joints | Planks ridge over high points, causing severe wear and joint disengagement | Grind down concrete high spots using a diamond-cup wheel angle grinder |
| Hairline Cracks | Ground movement and curing shrinkage | Moisture vapor migration and telegraphing lines through thin planks | Clean, prime, and bridge cracks with flexible concrete crack filler |
| Excess Slab Moisture | High water tables and tropical humidity | Vapor pressure buildup beneath planks causing mold or adhesive breakdown | Perform moisture test and install a 6mil polyethylene vapor barrier |
Step-by-Step Guide: Prepping Your Concrete Slab for LVP
Floor manufacturers require concrete subfloors to be flat within 3/16 inch over a 10-foot radius (or 1/8 inch over 6 feet). Following a systematic preparation process guarantees your subfloor meets these strict installation standards.
Step 1: Deep Clean and Strip the Slab
Remove all old flooring, carpet tack strips, tile adhesive, paint overspray, and drywall mud. Use a heavy-duty scraper to strip old carpet glue or vinyl mastic flush down to raw concrete. Sweep thoroughly and vacuum the entire floor using a HEPA shop vacuum to remove microscopic dust that prevents leveling compounds from bonding.
Step 2: Map the Subfloor with a Straightedge
Set a 10-foot aluminum straightedge or long carpenter’s level across the floor. Pivot the bar across room corners to identify high and low spots. Mark dips deeper than 3/16 inch using chalk circles, and highlight raised concrete humps with an X.
Step 3: Grind Down High Points
For raised ridges or high spots along expansion joints, wear a dust mask and use a concrete grinder equipped with a diamond cup wheel and a vacuum dust shroud. Grind high areas down flush until the straightedge rests flat across the surface.
Step 4: Prime and Apply Leveling Compound
For low dips and recessed areas, apply an acrylic concrete primer over the cleaned slab to ensure proper adhesion. Mix a cementitious self-leveling underlayment or floor patch compound with clean water according to package instructions. Pour the liquid compound into the marked low spots, spreading it smoothly using a feather-edge trowel. Allow the patch to cure completely (typically 4 to 24 hours depending on humidity levels).
Step 5: Install a 6mil Moisture Vapor Barrier
Ground-level concrete slabs on Oahu absorb ground moisture, releasing invisible water vapor upward into living spaces. Before clicking your SPC vinyl planks together, lay down a continuous 6mil polyethylene vapor barrier film across the concrete. Overlap sheet seams by 6 inches and seal them tightly with waterproof moisture tape.
Why Rigid Core SPC Vinyl Forgives Minor Subfloor Imperfections
While thorough subfloor preparation is essential for any floor installation, the type of LVP you select dictates how forgiving the plank is over real-world subfloors.
Older, flexible Luxury Vinyl Tile (LVT) and thin glue-down vinyl copy every bump, dip, and crack in the concrete beneath them—a defect known as telegraphing.
Our Standard 7 Series (6.5mm) and Premium 9 Series (7mm) feature a high-density Stone-Polymer Composite (SPC) rigid core made from natural limestone powder and virgin PVC resin.
- Bridge Structural Micro-Dips: The dense, rigid limestone core acts like a solid bridge over minor concrete surface imperfections, preventing telegraphing lines.
- Integrated IXPE Foam Backing: Every plank includes a pre-attached high-density IXPE acoustic cushion that absorbs minor surface grit and dampens footfall noise without needing separate underlayment rolls.
- Heavy Joint Strength: Rigid SPC planks prevent the locking mechanisms from flexing, protecting joints from cracking under heavy foot traffic or heavy furniture loads.
You can complete your home makeover by combining your level floors with our custom-look shower panels and undermount sinks for a low-maintenance interior package.
Concrete Subfloor Prep FAQs
Do I need a separate foam underlayment if my LVP already has pre-attached IXPE padding?
No. You should never install a second layer of soft foam underlayment beneath LVP planks that already feature pre-attached IXPE cushion backing. Adding extra soft foam creates too much cushion beneath the floor, causing the click-lock joints to flex and snap under foot pressure.
How long must new concrete cure before I can install SPC vinyl flooring over it?
Newly poured concrete slabs must cure for a minimum of 60 to 90 days before installing LVP. Always perform a calcium chloride or relative humidity (RH) moisture test on new concrete to confirm moisture emission levels meet manufacturer guidelines before laying flooring.
Can I use wood floor leveling compound over a concrete subfloor?
No. Always use a cement-based self-leveling underlayment or concrete patch for concrete slabs. Wood-based patching compounds lack the structural bonding strength required for concrete and can break down under ambient moisture exposure.
What happens if I install LVP over an unlevel concrete floor without leveling it first?
Installing click-lock LVP over uneven concrete causes the planks to bounce or feel springy when walked on. Over time, vertical movement stresses the locking joints, leading to broken click edges, open gaps between planks, and squeaking sounds.
Can I pick up floor patching materials and SPC flooring directly from your warehouse?
Yes. We maintain a deep local inventory of rigid core SPC vinyl flooring at our Aiea facility. Your contractor can pick up complete flooring packages directly from our loading dock or arrange local jobsite delivery across Oahu. Explore our whole-home gallery to view finished flooring projects in local island residences.
Upgrade Your Oahu Floors Today
Ready to install quiet, flat, waterproof SPC vinyl flooring built to handle Hawaii conditions? Visit the product specialists at Maikaʻi Import to check real-time stock levels, inspect physical samples, and receive a detailed project estimate:
- Visit Our Regional Showroom: Walk on full-size flooring displays, check cabinet finishes, and view quartz slabs at 98-019 Kamehameha Hwy #8, Aiea, HI 96701, located inside the Harbor Center business complex.
- Call Our Sales Desk: Contact our sales team at (808) 488-5678 during regular business hours (Monday through Saturday, 8:00 AM to 5:00 PM) to confirm product availability and schedule material pickup.